Ipinapakita ang mga post na may etiketa na LOGIC CIRCUITS. Ipakita ang lahat ng mga post

Sabado, Marso 3, 2012

Full Adder


At the very least, most people expect computers to do some kind of arithmetic computation, and thus, most people expect computers to add.
We're going to construct combinational logic circuits that perform binary addition. The first question you should ask when adding binary numbers, given all the time we've spent talking about representation is "what representation are we talking about"?
Clearly the choice of representation is going to affect how we perform the addition. Certain representations allow us to add in the way we add base ten numbers.


What is a Full Adder?
A Full Adder  is a combinational circuit that performs the arithmetic sum of three input bits. It consists of three inputs and two outputs. Three of the input variables can be defined as A, B, Cin and the two output variables can be defined as S, Cout. The two input variables that we defined earlier A and B represents the two significant bits to be added. The third input Cin represents the carry bit. We have to use two digits because the arithmetic sum of the three binary digits needs two digits. The two outputs represents S for sum and Cout for carry.

For designing a full adder circuit, two half adder circuits and an OR gate is required. It is the simplest way to design a full adder circuit. For this two XOR gates, two AND gates, one OR gate is required. 


Full Adders

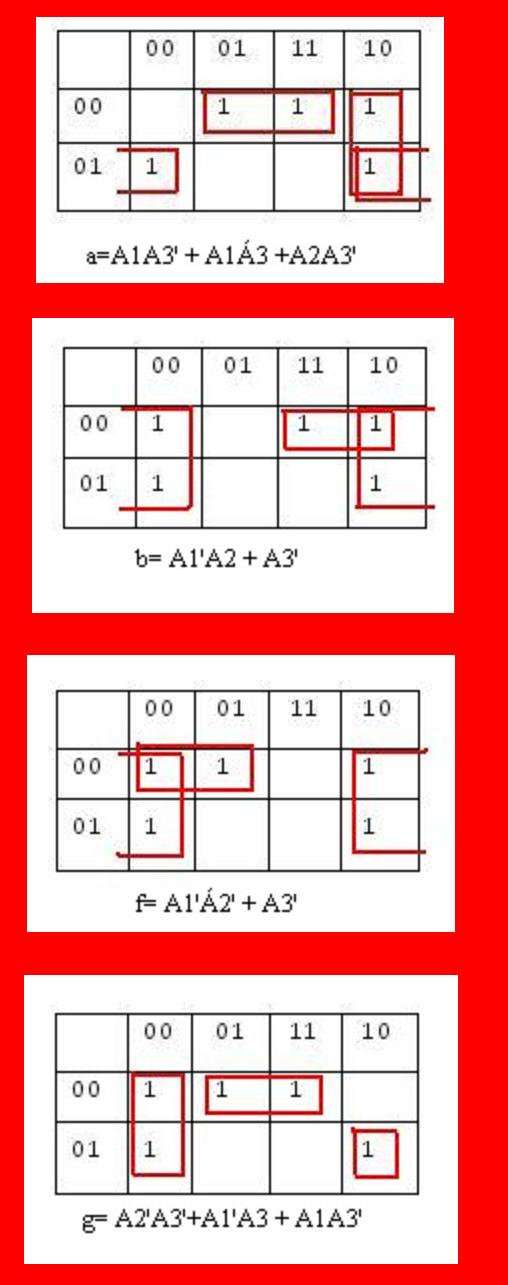
The logic table for a full adder is slightly more complicated 


than the tables we have used before, because now we have 


3 input bits. It looks like this:


One-bit Full Adder with Carry-In and Carry-Out
CIABQCO
00000
00110
01010
01101
10010
10101
11001
11111


There are many different ways that you might implement this table. I am going to present one method here that has the benefit of being easy to understand. If you look at the Q bit, you can see that the top 4 bits are behaving like an XOR gate with respect to A and B, while the bottom 4 bits are behaving like an XNOR gate with respect to A and B. Similarly, the top 4 bits of CO are behaving like an AND gate with respect to A and B, and the bottom 4 bits behave like an OR gate. Taking those facts, the following circuit implements a full adder:


This definitely is not the most efficient way to implement a full adder, but it is extremely easy to understand and trace through the logic using this method. If you are so inclined, see what you can do to implement this logic with fewer gates.

Now we have a piece of functionality called a "full adder." What a computer engineer then does is "black-box" it so that he or she can stop worrying about the details of the component. A black box for a full adder would look like this:


With that black box, it is now easy to draw a 4-bit full adder:


In this diagram the carry-out from each bit feeds directly into the carry-in of the next bit over. A 0 is hard-wired into the initial carry-in bit. If you input two 4-bit numbers on the A and B lines, you will get the 4-bit sum out on the Q lines, plus 1 additional bit for the final carry-out. You can see that this chain can extend as far as you like, through 8, 16 or 32 bits if desired.

The 4-bit adder we just created is called a ripple-carry adder. It gets that name because the carry bits "ripple" from one adder to the next. This implementation has the advantage of simplicity but the disadvantage of speed problems. In a real circuit, gates take time to switch states (the time is on the order of nanoseconds, but in high-speed computers nanoseconds matter). So 32-bit or 64-bit ripple-carry adders might take 100 to 200 nanoseconds to settle into their final sum because of carry ripple. For this reason, engineers have created more advanced adders called carry-lookahead adders. The number of gates required to implement carry-lookahead is large, but the settling time for the adder is much better.http://computer.howstuffworks.com/boolean3.htm


Building Blocks: Full Adders


The problem with a half-adder is that there it doesn't handle carries. When you look at the left column of the addition

     1  0
     1  1  0
  +  0  1  1 
  -----------
 (1) 0  0  1
you see that you add three bits. Half adders only add two bits.
We need a circuit that can add three bits. That circuit is called a full adder.
Here are the characteristics of a full adder.
  • Data inputs: 3 (call them x, y, and cin, for carry in)
  • Outputs: 2 (call them s, for sum, and cout, for carry out)
Notice we now need to make a distinction whether the carry is an input (cin) or an output (cout). Carry in's in column i are due to carry outs from column i - 1 (assuming we number columns right to left, starting at column 0 at the least significant bit).
Here's a truth table for full adders.


Rowxycincouts
000000
100101
201001
301110
410001
510110
611010
711111


Ripple Carry Adders

Once you have half adders and full adders, you can now construct ripple carry adders.
A ripple carry adder allows you to add two k-bit numbers. We use the half adders and full adders and add them a column at a time.
Let's put the adder together one step at a time.

Before Adding


Adding Column 0

We add x0 to y0, to produce z0.


Adding Column 1

In column 1, We add x1 to y1 and c1 and, to produce z1, and c2, where ci is the carry-in for column i and ci + 1 is the carry-out of column i.


Adding Column 2

In column 2, We add x2 to y2 and c2 and, to produce z2, and c3.


Using Only Full Adders

We don't really need to use the half adder. We could replace the half adder with a full adder, with a hardwired 0 for the carry in.


Delay


SPINNING DISK

Design a disk spinning animation circuit for a CD player. The input to the circuit will be a 3-bit binary number A1A2A3 provided by another circuit. It will count from 0 to 1 in binary and it will repeat. the animation will appear on the top of the four lights of the LED display of the figure going clockwise. the animation should consist of a blank spot on a disk spinning around once, the the entire disk should blink on and off twice.


this is how it looks:


Where:


this is now its truth table:


Derive a K Map out of this truth table


From the equation formed, you can now create its Schematic Diagram:


Biyernes, Marso 2, 2012

Logic Probe

LOGIC PROBE was our first plate in LOGIC CIRCUITS.

First, we must know what is a logic probe.

logic probe is a hand-held pen-like test probe used for analyzing and troubleshooting the logical states (Boolean 0 or 1) of a digital circuit. While most are powered by the circuit under test, some devices use batteries. 
http://en.wikipedia.org/wiki/Logic_probe)


This is a set of plans for an inexpensive, high performance digital logic probe that you can build in a few hours. It is small enough to use a plastic ball-point pen as a chassis, giving it a personalized touch and added style. The main advantage of this design is that the LED will only light when the probe tip is touching a voltage source (not floating). This is a necessary feature when working with tri-state logic, and is overlooked by most logic probe plans found in textbooks.

The Schematic Diagram that we used: 


The materials that we used:


Ball-point pen - This will be the housing for the logic probe. 


Bicolor LED - Use a standard red/green bicolor LED or two individual LED's wired in reverse parallel.


Dual op-amp - Chose an op-amp that is sensitive, has good rail-to-rail characteristics, a large input impedance, and an output current greater than 20 mA. Radio Shack part number 276-1715 should work well.


Resistors - See the schematic for values.

 The following are Resistor Values:

R1, R4, R5, R6-   1 MΩ
R2, R3-   100 KΩ
R7-  330 Ω


Probe tip - You can use a short piece of brass rod, a needle, the tip of a paper clip, or whatever.

Two alligator clips - One should be red and the other should be black


How to assemble a Logic probe. 

Here are the steps:


1. Prepare the pen by removing the ink cartridge and by cleaning out any ink residue. Solder the probe tip to R2 and R3 as shown in the schematic and epoxy this assembly into the bottom of the pen. While the epoxy dries, prepare the top half of the pen for the LED by drilling a mounting hole if necessary. Drill another smaller hole in the side of the pen for the power leads to enter.
2. Assemble the rest of the circuit as shown in the schematic above with wire wrap wire. Try to keep it as small as possible. Leave about 3 feet of loose wire for alligator clips one and two, but do not yet connect the alligator clips themselves. When the epoxy is dry, attach R2 and R3 to the rest of the circuit.
3. Test the circuit by attaching the wire for alligator clip one to the positive terminal of a five volt power supply and the wire for alligator clip two to the negative terminal of the power supply. The LED should not light. Now touch the tip of the probe to the positive terminal of the power supply. The LED should light red. Now touch the tip of the probe to the negative terminal of the power supply. The LED should light green. If the LED lights red on the negative terminal and green on the positive one, reverse its polarity by rewiring it. If the LED does not light at all, check your wiring. If all else fails, the op-amp may not be designed to operate at five volts. Consider replacing it with a different model.
4. When you finish testing the circuit, mount it in the ball-point pen. Feed the three feet of loose wire for alligator clips one and two through the smaller hole near the top of the pen, keeping track of which wire is which. Solder the red alligator clip to the wire for alligator clip one, and then solder the black alligator clip to the wire for alligator clip two. Insert the LED into its mounting hole, and secure it with epoxy. Finally, screw the pen together and test it one more time. If the probe does not work, unscrew the pen and try again. If works, you're done!

How to Use the Logic Probe

 Your new logic probe is very easy to use. To test the voltage of a logic circuit at any given point, first connect the power (alligator) clips to the circuit's power supply. Next, touch the tip of the probe to the point you want to test. The LED will light green for a voltage less than 9/20 the power supply voltage and red for a voltage greater than 11/20 the power supply voltage. A high-frequency signal will cause theLED to oscillate between red and green, appearing orange.


THIS IS NOW OUR LOGIC PROBE:


Converting Decimal to Binary


Since the binary system is the internal language of electronic computers, serious computer programmers should understand how to convert from decimal to binary.
we will start by discussing what are decimal and binary numbers.


      The decimal (base ten) numeral system  has ten possible values (0,1,2,3,4,5,6,7,8, or 9) for each place-value. In contrast, the binary  (base two) numeral system has two possible values, often represented as 0 or 1, for each place-value.

    To avoid confusion while using different numeral systems, the base  of each individual number may be specified by writing it as a subscript of the number. 


example: 
         *the decimal number 156 may be written as 15610 and 
          read as "one hundred fifty-six, base ten". 
        *The binary number 10011100 may be specified as               
    base two" by writing it as 100111002.


In a decimal system each digit has a value ten times greater than its previous number and this decimal numbering system uses a set of symbols, b, together with a base, q, to determine the weight of each digit within a number. 

For example, the six in sixty has a lower weighting than the six in six hundred and in a binary numbering system we need some way of converting Decimal to Binary. Any numbering system can be summarized bythe following relationship: 


N=bqi

Where:

N is positive real number
B is symbol
Q is base value

N = b2 q2 + b1 q1  + b0 q0 + b-1 q-1 ... etc


 In the decimal or denary system, the columns have values of units, tens, hundreds etc as we move from right to left and mathematically these values are written as 100, 101, 102, 103 etc. The decimal numbering system has a base of 10 or modulo-10 (sometimes called MOD-10) with the position of each digit in the decimal system indicating the magnitude orweight of the number. For example, 20 (twenty) is the same as saying 2 x 101 and 400 (four hundred) is the same as saying 4 x 10². Likewise, for fractional numbers the weight of the number is negative, 10-1, 10-2, 10-3 etc.


By adding together all the decimal number values from right to left at the positions that are represented by a "1" gives us:  (256) + (64) + (32) + (4) + (1) = 35710 or three hundred and fifty seven in decimal. Then, the binary array of digits 1011001012 is equivalent to 35710 in decimal or denary. As the decimal number is a weighted number, converting from decimal to binary will also produce a weighted binary number with the right-hand most bit being the Least Significant Bit or LSB, and the left-hand most bit being the Most Significant Bit or MSB. and we can represent these as


MSBBinary DigitLSB
282726252423222120
2561286432168421


Repeated Division-by-2 Method 


Another method of converting Decimal to Binary number equivalents is to write down the decimal number and to continually divide by 2 (two) to give a result and a remainder of either a "1" or a "0" until the final result equals zero.


Number294
Dividing each number by "2" gives a result plus a remainder. The binary result is obtained by placing the remainders in order with the least significant bit (LSB) being at the top and the most significant bit (MSB) being at the bottom.
divide by 2
result147remainder 0  


     \(LSB)
divide by 2
result73remainder1
divide by 2
result36remainder1
divide by 2
result18remainder0
divide by 2
result9remainder0
divide by 2
result4remainder1
divide by 2
result2remainder0
divide by 2
result1remainder0
divide by 2
result0remainder1  (MSB)


the decimal to binary conversion gives the decimal number 
29410 = 1001001102 in binary, reading from right to left.


Then the main characteristics of a Binary Numbering System is that each "digit" or "bit" has a value of either "1" or "0" with each digit having a weight or value double that of its previous bit starting from the lowest or least significant bit (LSB) and this is called the "sum-of-weights" method. So we can convert a decimal number to binary either by using the sum-of-weights method or by using the repeated division-by-2 method.


Binary Number Names & Prefixes

Binary numbers can be added together and subtracted just like decimal numbers with the result being combined into one of several size ranges depending upon the number of bits being used. The classification of individual bits into larger groups are generally referred to by the following more common names of:

Number of Binary Digits (bits)Common Name
1Bit
4Nibble
8Byte
16Word
32Double Word
64Quad Word


Also, when converting from Decimal to Binary or even from Binary to Decimal, we need to be careful that we do not mix up the two sets of numbers. 
For example, if we write the digits 10 on the page it could mean the number "ten" if we assume it to be a decimal number, or it could equally be a "1" and a "0" together in binary, which is equal to the number two in decimal from above.
 One way to overcome this problem and to identify whether the digits or numbers being used are decimal or binary is to write a small number called a subscript after the last digit to show the base of the number system being used. 
If we were using a binary number we would add the subscript 2 so the number would be written as 102, and if it were a decimal number we would add the subscript 10 so the number would be written as 1010.
Today, as micro-controller or microprocessor systems become increasingly larger, the individual binary digits (bits) are now grouped together into 8´s to form a single BYTE with most computer hardware such as hard drives and memory modules commonly indicate their size in Megabytes or even Gigabytes.


Number of BytesCommon Name
1,024 (210)kilobyte (kb)
1,048,576 (220)Megabyte (Mb)
1,073,741,824 (230)Gigabyte (Gb)
a very long number! (240)Terabyte (Tb)


DECIMAL TO BINARY SUMMARY:

·        A "BIT" is the abbreviated term derived from BInary digiT
·         A Binary system has only two states, Logic "0" and Logic "1"
·        A Decimal system uses 10 different digits, 0 to 9
·       A Binary number is a weighted number who's weighted value increases from right to left
·       The weight of a binary digit doubles from right to left
·       A decimal number can be converted to a binary number by using the sum-of-weights method or the repeated division-by-2 method
·       When we convert numbers from decimal to binary, subscripts are used to avoid errors


Converting Decimal to Binary numbers can be done in a number of different ways as shown above. When converting decimal numbers to binary numbers it is important to remember which is the least significant bit (LSB), and which is the most significant bit (MSB). In the next tutorial about Binary Logicwe will look at converting binary numbers into Hexadecimal Numbers and vice versa and show that binary numbers can be represented by letters as well as numbers.